
Who knew there was a right way to do PVC adhesion? Well there is. Also a wrong way. You can not just take rubber cement and put them together. If you want a proper seal and no leaks there is a certain process to follow. We will be covering that today. Also you may want to gather proper tools before you start. A list of what we will need below.
- Band Saw or Hand Saw
- Tape Measure
- Sand Paper or Small Power Abrasive Tool
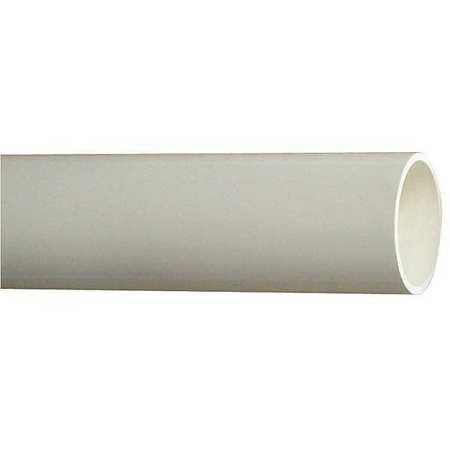
- PVC Pipe (under 12″ diameter)
- PVC cleaner
- PVC Primer
- PVC Glue
Cut your PVC
Choose you measuring device. Cut your PVC straight. Make sure to deburr the inside and outer edges just like you would with copper pipe. A nice flat edge is essential to a proper fit. 90° angle. If it is a bit off you will still be fine you should have roughly an inch to fit into your elbow, reducer, etc. If you need reference of a good edge refer to a brand new piece of pipe or the edge above. This works best with the correct cutting tools. You can use a number or saw. A band saw will work best. Make sure to use the guide on the band saw for a nice flush cut.
Clean your Pipe
We recommend this clear cleaner. However you can also use other cleaning products such as a brake cleaner, rubbing alcohol, or a degreaser if this pipe is extra dirty. You only have to clean the part of the pipe that you are going to be priming and we will cover that next. However, again; if the pipe is extra dirty or going into a ceiling or interior wall you may still want to clean the whole pipe if it is not new. Just in the name of professionalism.
Prime the Pipe

Priming the pipe is very important. A Chemical reaction happens that makes the pipe porous to help the glue adhere to it. There is a ball on the inside of the canister. You will want to circle your pipe about 20 times while applying for the reaction to take place. Make sure to cover the entire area that you will be inserting into the bell of the other component. Be sure to also repeat this process on the bell of the other component.
Gluing the Pipe

This may look a bit different in a real world application. There will still be residue from the primer and that will be fine. Apply the glue just like you would the primer; with the ball and coat the pipe entirely. Also do the bell on the other component.
Joining the Pipe
Once you have applied the glue it is as simple as plugging the cord into the wall. Join the two components together. Twist. Hold. We say hold because any air bubbles from the glue will pressurize the joint and push the two pieces apart. So it is best to keep pressure on the joint while the glue dries. We recommend pressure for about 30 seconds while the glue dries.
Be Safe.
As always be safe and wear the proper PPE. The cleaner, primer, and glue has a very strong odor which can be dangerous. Please read your labels and instructions. If using this indoors please consider proper ventilation.
Hostaimx? Mantap! Baru coba nih, loadingnya cepet banget. Semoga makin banyak promonya ya! Cekidot di hostaimx
Alright, mate, if you are looking for a site that is legit, then JELIVOLOGIN might be the stop for you. You might as well take a look and see what I mean: jelivologin
Heard about CCC666 through a friend. The registration was fairly quick. I have noticed more crashes with other sites but I did not see that here. If you’re looking for something easy to use, then this may be worthwhile: ccc666